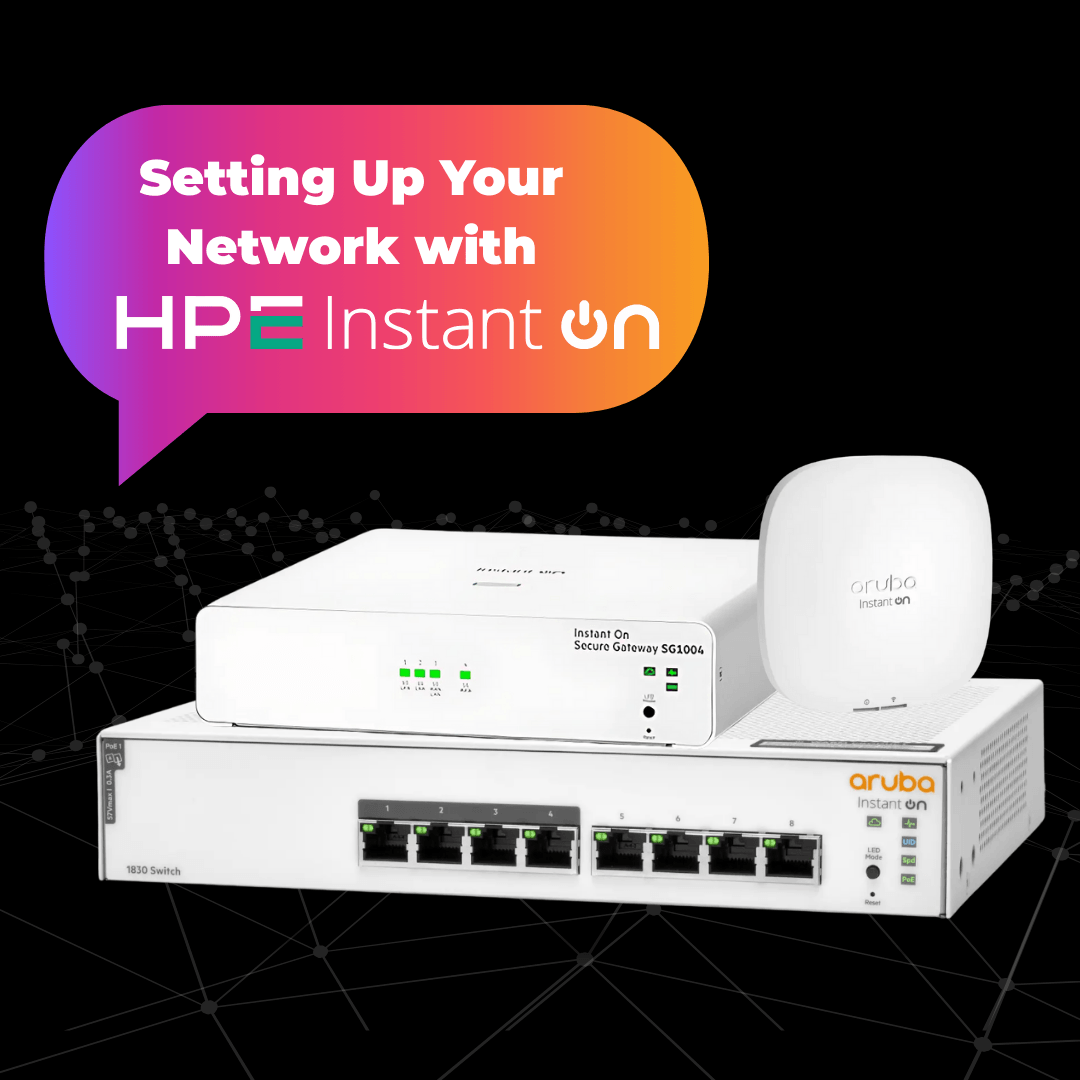
Back in 2019, following the acquisition of Aruba Networks by tech giants Hewlett Packard Enterprises, the HPE Instant On range was established on a simple premise; to put powerful, scalable and straightforward networking back in the hands of small-to-medium businesses, who require a powerful and future-proof network but who may not have the resources for a full-time IT team to provision, monitor and manage the hardware.
HPE Networking’s fix for this is to pair powerful, affordable networking solutions with an intuitive setup process and free app for both mobile and desktop, allowing anyone to provision, monitor and manage their network at any scale, from anywhere in the world. Instead of high-speed, high-powered network connectivity and Enterprise-grade security being reserved for companies with six-or-seven-figure IT budgets and a 24-hour Network Ops team keeping an eye on everything, a small business can now run a watertight, speedy network which can be set up in minutes.
Step One: Connecting to the Internet
In setting up any network, the first step is connecting to the WAN, or Wide Area Network; this is done either through a modem and then a router, a combined modem and router, or a modem and gateway.
These devices all do different things; if you’re using a separate modem and router, the modem is what connects first to the WAN and translates the network signals into data that a router can recognise. The router then distributes this internet connection to all the devices on the network, feeding data to the device and then feeding the device’s responses back to the modem, and then on to the WAN. Routers are important in networks with more than one client device, such as a PC and a mobile phone, because they keep each device’s traffic separate, and gateways perform in a similar way but frequently with additional features or software.

HPE have recently released two secure gateways, the SG1004 and SG2505P; these can act as your router, and additionally come with a huge range of security features without requiring a license or subscription like IDS/IPS (Intrusion Detection System / Intrusion Prevention System), a stateful firewall with customisable rules, policy based traffic control, and two WAN ports for redundancy. Unusually for a gateway, the SG2505P can also deliver up to 64W PoE to connected devices.
While you don’t strictly need to use an HPE gateway for your HPE network, these gateways (like all other devices in HPE’s portfolio) can be set up and managed from the free HPE Instant On mobile or desktop app, and are packed with advanced, powerful and easy to use features (We took a deeper dive into these two powerful gateways in our blog last month!). All routers and gateways have slightly different processes for initially connecting to a WAN, but the SG1004 and SG2505P is straightforward:
1. Connect the WAN port of the gateway to the modem provided by your ISP. For the SG1004, this connection is done through port 4; for the SG2505P, use port 5. Once the WAN is connected, connect any other Instant On devices such as netowrk switches and access points to the LAN ports on the front of the gateway; then, just power your gateway on!
2. It can take up to ten minutes for new devices to boot up fully and download firmware; while this is happening, it’s a good idea to make sure the HPE Instant On app is downloaded. Once the LED light on the gateway alternates between green and amber, the gateway is ready to be discovered by the Instant On app; the app will automatically discover the gateway, as well as any devices that are connected through any of the gateway’s LAN ports.
3. Once all devices have been connected, powered up and recognised by the Instant On mobile app, just follow the instructions in the gateway’s Quick Start Guide and enter your ISP details, and you’ll be connected to the WAN!
Step Two: Additional Devices
Network Switches
By connecting your gateway to the WAN, you’ve already set up your HPE network - however you may need further hardware to make your network behave how you’d like. In step one, we mentioned any additional devices you’d be connecting to your gateway; if these are HPE devices like switches or access points, they’ll be automatically added to your HPE ‘Site’ - effectively an instance of an HPE network.

Depending on your requirements, you’ll probably need a network switch, and if you require WiFi, you’ll also need a couple of access points. In your network’s topology, a switch comes after the gateway; in its simplest form, a network switch effectively offers you more LAN ports than your router or gateway would provide. These are unmanaged switches, meaning they don’t require any specific management or setup - just connect them to the router or gateway, plug in any devices that they’re looking after like access points or IP cameras, and you’re set! HPE’s 1430 series, like the R8R45A, are unmanaged, and they’re great for businesses who need a quick and easy way to expand their network.
Your alternative to an unmanaged switch is - you guessed it - a managed switch! These have the advantage of being much more customisable than unmanaged switches, great for more demanding or complex networks - from the eight-port JL811A, all the way to the 24-port JL807A. Ordinarily, this would mean a longer and more complicated setup, but your switch should have already been recognised automatically by the HPE app just by virtue of being connected to your gateway.

If you’re not using a gateway, never fear! Just scan the switch’s serial number found on the side of the device’s box with the mobile app, and it’ll be instantly adopted; the same goes for HPE’s access points.
Speaking of which:
Access Points
In an HPE network, an access point is what will provide the WiFi connection for your network. As in the rest of HPE’s portfolio, which access point you choose will depend on what you need your network to do - the AP25 can offer high-speed WiFi 6, the AP22D is can be desk-mounted and features four Gigabit RJ45 ports for wired uplinks, the AP27 is ruggedised for outside WiFi - the list goes on!

Whichever access point, or combination of access points you choose, the setup will be roughly the same; they’ll first need to be powered, which can be achieved either with a Power Supply Unit (usually sold separately) or by plugging them into a network switch that can supply PoE through a network cable.
Once they’re detected by your HPE Instant On app, either by scanning the labels on the side of the box or by being plugged into a gateway or network switch, you can just follow the on-screen instructions to configure your SSID (the name of your network) and its password. A solid green light on the AP will mean it’s been successfully deployed.
From here, you can access all the config settings available to the access point; for example, creating a mesh network, which means that the access points on the network will automatically link together to expand coverage and eliminate dead zones, and ‘Self Heal’ - if one AP drops out, the others in the mesh system will automatically re-configure to pick up the slack. As with the rest of your HPE Instant On network, this can be done in moments from the free app!
Conclusion
With their Instant On solution, HPE Networking are placing enterprise-grade connectivity firmly back in the hands of small-to-medium businesses; the desktop and mobile apps are free and easy to use, and mean that a network can be accessed and monitored from anywhere in the world with an internet connection. A high-speed, dependable network can make all the difference to a rapidly growing business, and with HPE, it’s never been easier to achieve.